If you’re someone who pays a lot of attention to your and your family’s health, then there’s a good chance that you’re intentional about the food you eat—how nutritious it is, where you source it, how well it fits into a balanced diet.
And in thinking about nutrient-dense foods, you’ve probably come across the term microgreens a couple of times, and maybe even heard people raving about the health benefits of microgreens.
So, what are microgreens?
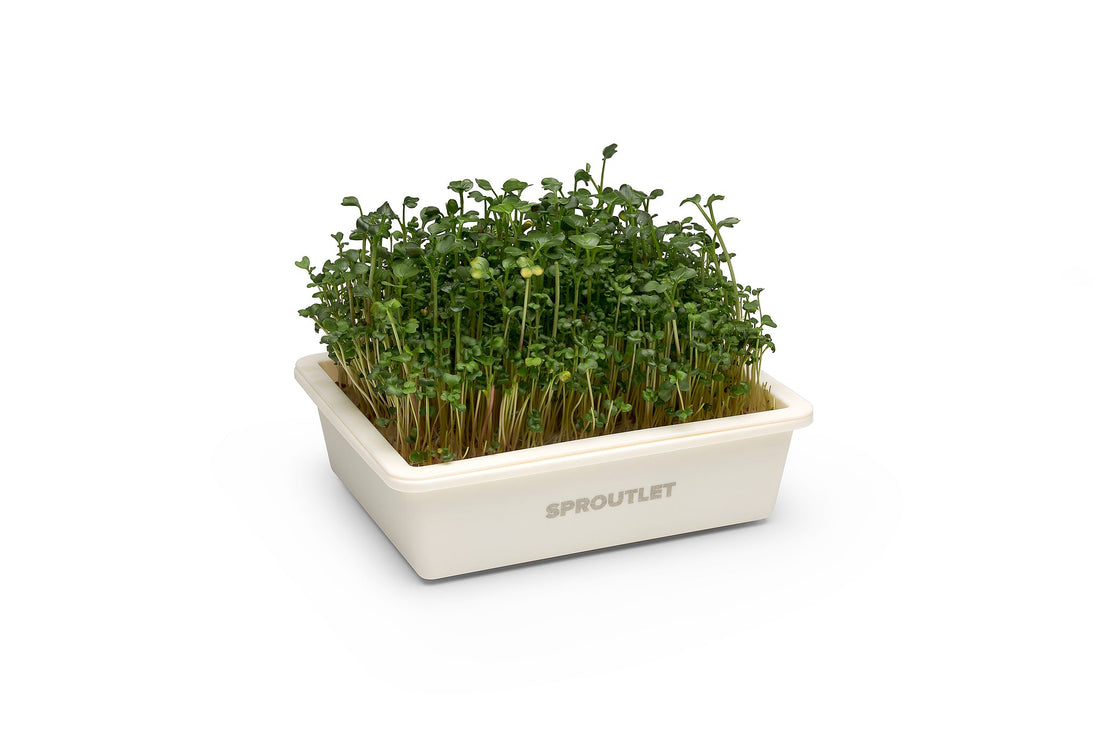
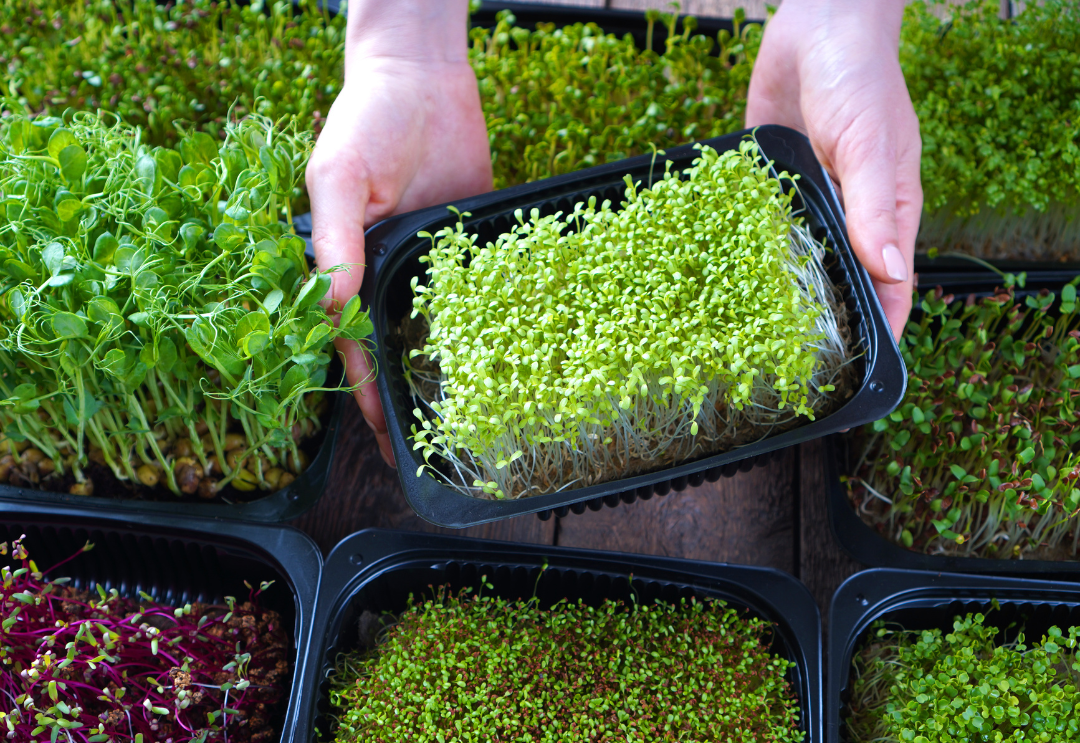
Simply put, microgreens are just like any other vegetable, except that they’re a lot smaller. They’re tender, immature greens grown from various vegetables, herbs, or grains (such as green daikon radish, beet greens, and buckwheat) and harvested when the stems are about 1-3” in height, just after the cotyledons (embryonic leaf) and/or the first pair of true leaves emerge.
While initially used in small amounts to garnish or decorate dishes, microgreens are now used more and more often as the main ingredient in salads and other dishes, giving them that extra nutritional punch. Compared to mature plants, microgreens often contain higher levels of vitamins, minerals, and antioxidants, making them a powerhouse of nutrients.
Although they first appeared in the 1980s, their popularity and commercial availability have seen a boom in the last 20 years, especially in the health community.
Microgreens vs. Sprouts vs. Baby Greens
Because of their similarities, it can be easy to confuse microgreens with sprouts and occasionally, baby greens.
Microgreens Vs. Sprouts
Unlike sprouts, microgreens are produced on a growing media, commonly in potting soil or in hemp mats, whereas sprouts are initially germinated in water and remain mostly dry until harvest.
Sprouts also have fewer days to harvest (no more than 10 days), while the time to harvest microgreens vary depending on the variety and can take anywhere from seven days to three weeks.
Flavor-wise, because microgreens are allowed to grow for longer, they have more intense flavor compared to sprouts.

Microgreens Vs. Baby Greens
Compared to microgreens, baby greens are bigger: they look like miniature versions of mature vegetables and are harvested in more or less four weeks, whereas microgreens are less than 3" in height and most microgreens are harvested at around 8-10 days.
Why Eat Microgreens: The Health Benefits of Microgreens
Microgreens are one of the many rapidly emerging food products. Because they’re an excellent source of protein, fat, sugars, and vitamins, many consider them as functional foods. They also offer nutrition proven health benefits, particularly due to their anti-inflammatory properties.
As of 2014, the researchers at the USDA have analyzed the nutrient content of at least 25 varieties of microgreens including red cabbage, garnet amaranth, green daikon radish, and cilantro.
They found an abundance of vitamin C, vitamin E, vitamin K, and several carotenoids, some of which are precursors to creating vitamin A.
Are Microgreens Healthier than Full Grown Vegetables?
In the same study mentioned above, the researchers also observed a general trend of microgreens having up to five times higher vitamin and carotenoid concentrations compared to their full-grown counterparts.
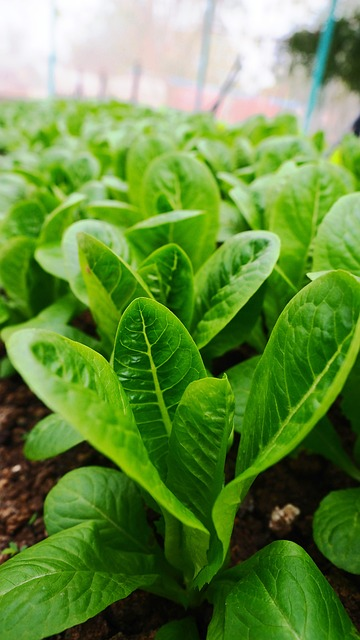
In terms of mineral content, another study compared full grown lettuce with that of lettuce microgreens and found that the tiny greens had higher concentrations of iron, calcium, zinc, selenium, magnesium, manganese, and molybdenum.
Other Key Nutrients in Microgreens
Isothiocyanates (ITC)
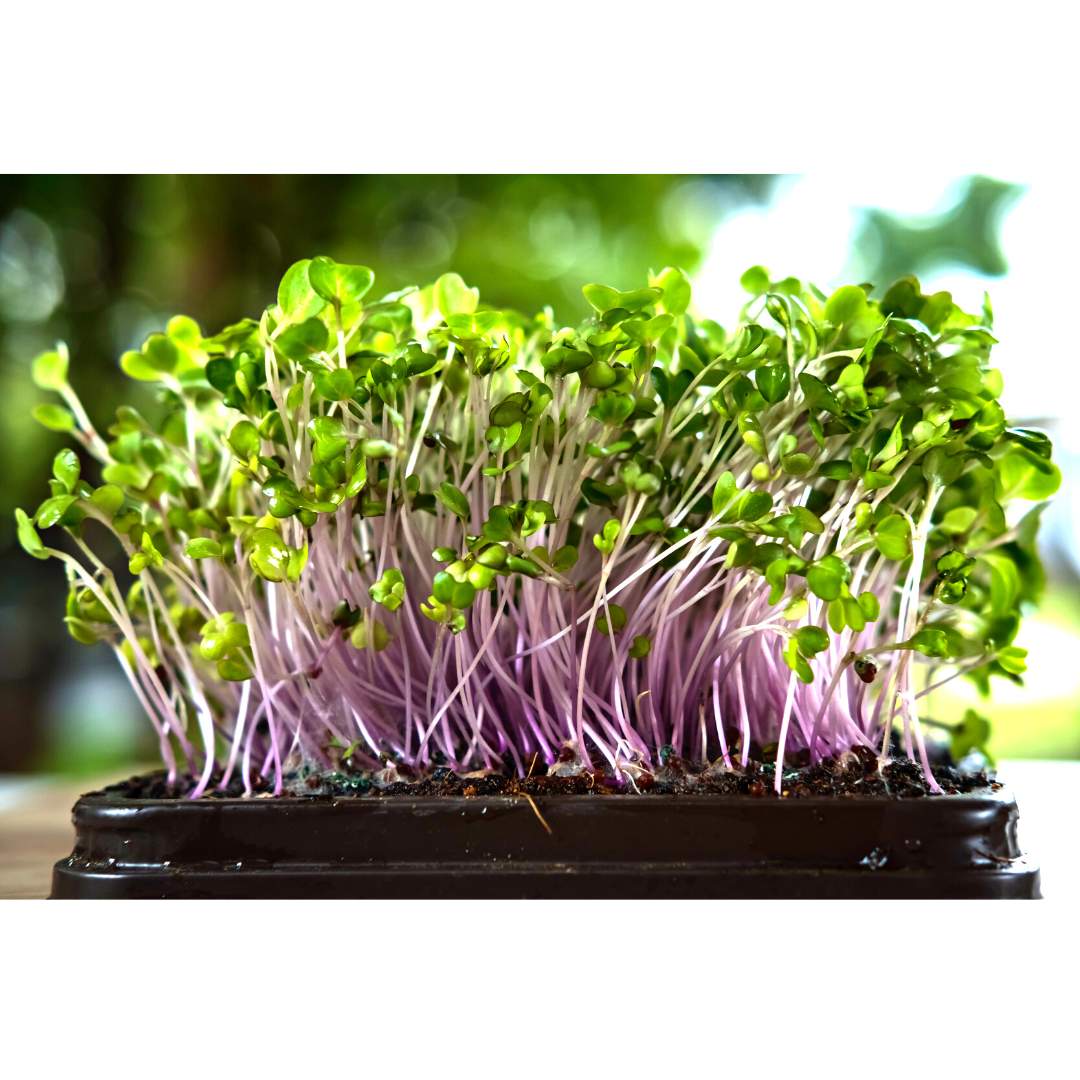
In more recent years, many researchers have taken particular interest in brassica microgreens (kale microgreens, broccoli microgreens, red cabbage microgreens, etc.), thanks to their high concentrations of glucosinolates that are metabolized into isothiocyanates, which have proven health benefits, namely its strong anticarcinogenic activity.
Phenolic Compounds or Polyphenols
Polyphenols are secondary metabolites of plants such as flavonoids, tannins, and lignans, among many others. Their health benefits include their anticarcinogenic, antimicrobial, anti-inflammatory, and antioxidant properties.
Carotenoids
As previously mentioned, microgreens are rich in carotenoids, whose many health benefits include the prevention of degenerative diseases thanks to its antioxidant and immune-boosting activities.
Kinds of Microgreens
When it comes to microgreen varieties, the sky's the limit.
In theory, any kind of seed can be turned into microgreens—it's just a matter of being able to grow them properly long enough for harvest.
That said, the most well-known microgreens are the most commercially available ones, namely, sunflower shoots, pea shoots, radish microgreens, red cabbage, and several mixes that include garnet amaranth, mustard microgreens, and micro herbs.
Listed below are a few plant families with their respective microgreens:
Amaranthaceae (Amaranth): Includes beet microgreens, amaranth, rainbow chard, and quinoa
Amaryllidaceae (Onion): Garlic, onion, leek
Apiaceae (Parsley): Carrot microgreens, celery, cilantro, fennel, and dill
Asteraceae (also called the Compositae Family): Includes lettuce microgreens, dandelion, and the popular sunflower shoots
Brassicaceae (Mustards): Includes the cruciferous vegetables, arugula, bok choy, broccoli, collard greens, watercress, and daikon radish
Lamiaceae (Mint): Basil, lemon balm, red shiso, oregano, and mint
Leguminosae (Legume): Plants include chickpeas and pea tendril
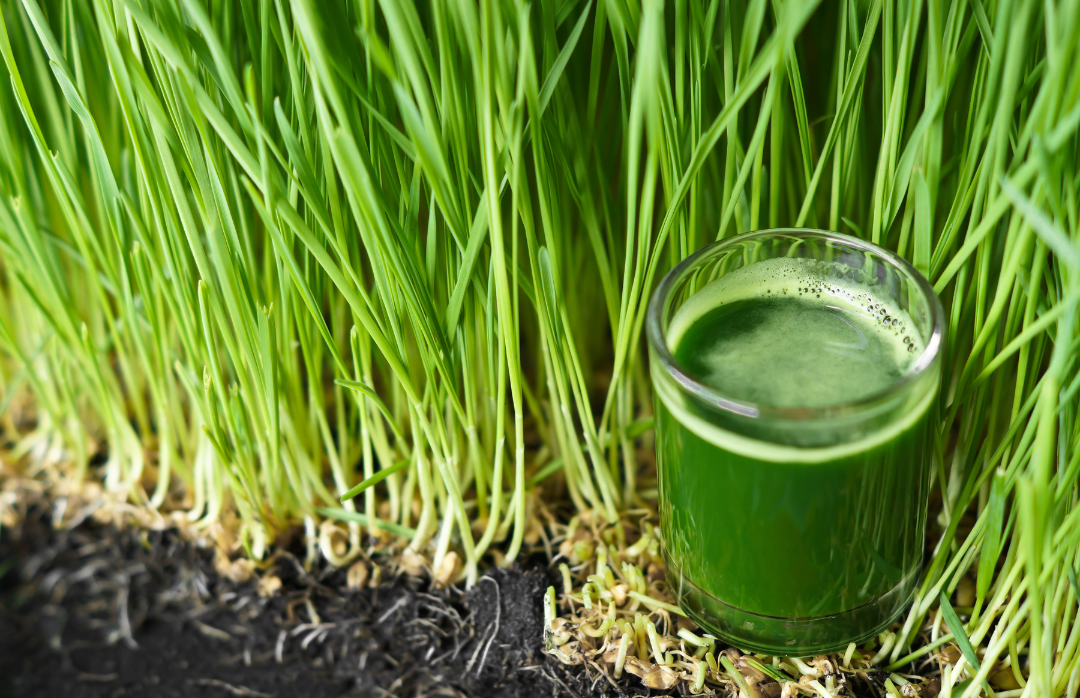
Poaceae (Grasses): Corn and wheatgrass, which is popular for juicing
Polygonaceae (Buckwheat): Buckwheat and sorrel
Flavor
Not only do microgreens make dishes prettier and give them a nutritional boost, they also offer a wide variety of flavors.
Mustard microgreens have a nice spicy flavor that spruces up microgreens mixes.
Arugula and broccoli microgreens have a sharp, peppery flavor that does well as dish garnish and as an addition to a mild-flavored salad.
Similar to their mature vegetable counterpart, carrots are sweet and work well in combination with spicy mustard microgreens.
Chard, being mild in flavor, is an excellent bulk ingredient in salads.
Sunflower shoots, being one of the most popular microgreens, has a beautifully nutty flavor that pairs well with almost any dish.
Explore all the different microgreens out there and mix and match to find your favorite one!
Where to Get Microgreens
Now that you're sold on the health benefits and the nutritional value behind microgreens and want to include microgreens in your diet, the next question is: where do you get them?
Thanks to their growing popularity, microgreens are no longer a specialty store-exclusive product but are instead becoming more available and accessible to the public.
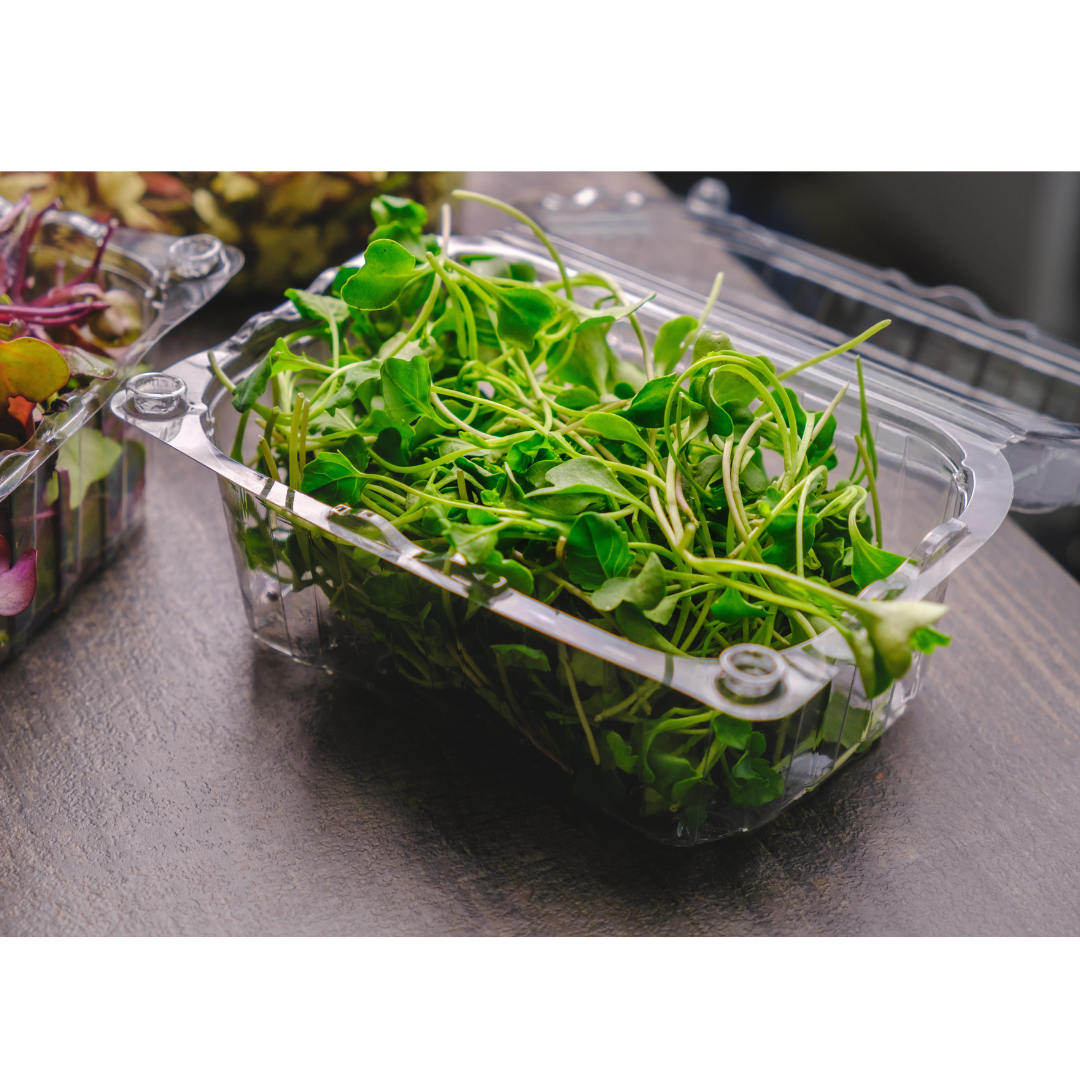
Anyone can walk into a health food store, or even a regular grocery store, and grab a pack of basil microgreen mix, or an ounce of arugula microgreens, or half a pound of carrot microgreens, or really, any kind of packaged microgreens and be on their way.
They're also becoming increasingly popular at farmer's markets, especially now that many small-scale vegetable growers are adding microgreens to their selection.
But depending on where you buy microgreens, the cost can rack up pretty high if you plan on buying a lot every week.
Which is why many people choose to grow their own microgreens at home.
How to Grow Microgreens
There's a certain allure and excitement around growing food, especially when you're growing your own.
You can get to watch their journey all the way from being seeds to becoming baby plants, to turning into harvest-ready microgreens, and finally making their way into your chickpea tomato salad.
So, where do you start with growing microgreens?
Below is lifted from The Pennsylvania State University College of Agricultural Sciences Extention Program:
What You Need
-
Seeds
-
Clean water
-
Growing tray (any flat tray with drainage holes at the bottom)
-
Growing medium (potting soil, coconut coir, synthetic fibers, or growing mats)
-
Spray bottle and pitcher
-
Sharp knife or sharp scissors
-
Growing tray lid (optional)
-
Grow lights (optional)
-
Collander (for seeds that need pre-soaking)
How to Grow Microgreens
1. Determine the amount of seeds to use. While the optimum amount of seeds to grow good microgreens depends on your growing conditions, you can also use our growers notes.
2. Pre-soak seeds if needed. Microgreens with larger seeds or hard shells such as peas and sunflowers will need pre-soaking for around 8-12 hours. Remember to rinse before seeding.
Note: Seeding without soaking these seeds may result in spotty germination.
3. Fill the tray with the growing medium and saturate with water. Well-saturated soil will keep the seeds moist for the germination process.
4. Distribute seeds evenly across the growing trays, taking care to seed the corners as well.
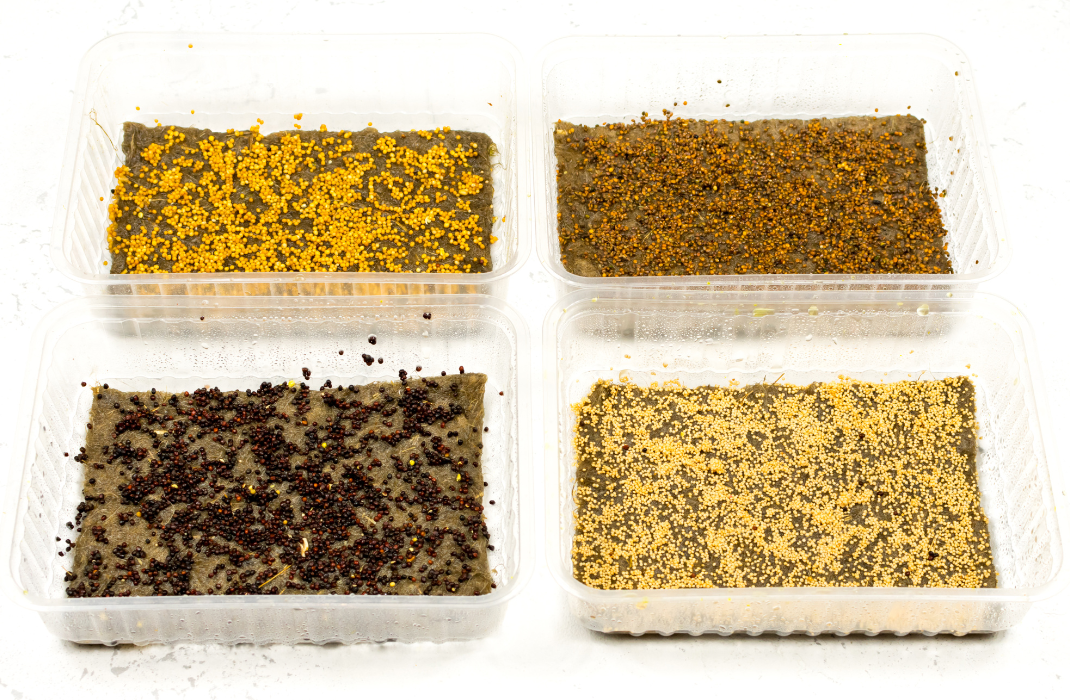
5. Lightly spray the tray using a spray bottle to keep the seeds moist.
6. Seeded trays may be stacked together or using a weight. Stacking improves seed-to-soil contact and ensures better germination.
Note: Stacking hulled microgreens such as sunflower also encourages detachment of the hulls from the cotyledons.
7. Place the trays in a dark growing environment to maintain good moisture levels. A lid may also be used.
8. Once the seeds have germinated, unstack the trays and place them in a well-ventilated area with good sunlight.
Note: While a sunny windowsill will suffice, some growers supplement their microgreens with growing lights especially during the winter months when sunlight is scarce.
9. Water only when needed. At this point, avoid getting the leaves wet and water only the soil to avoid disease.
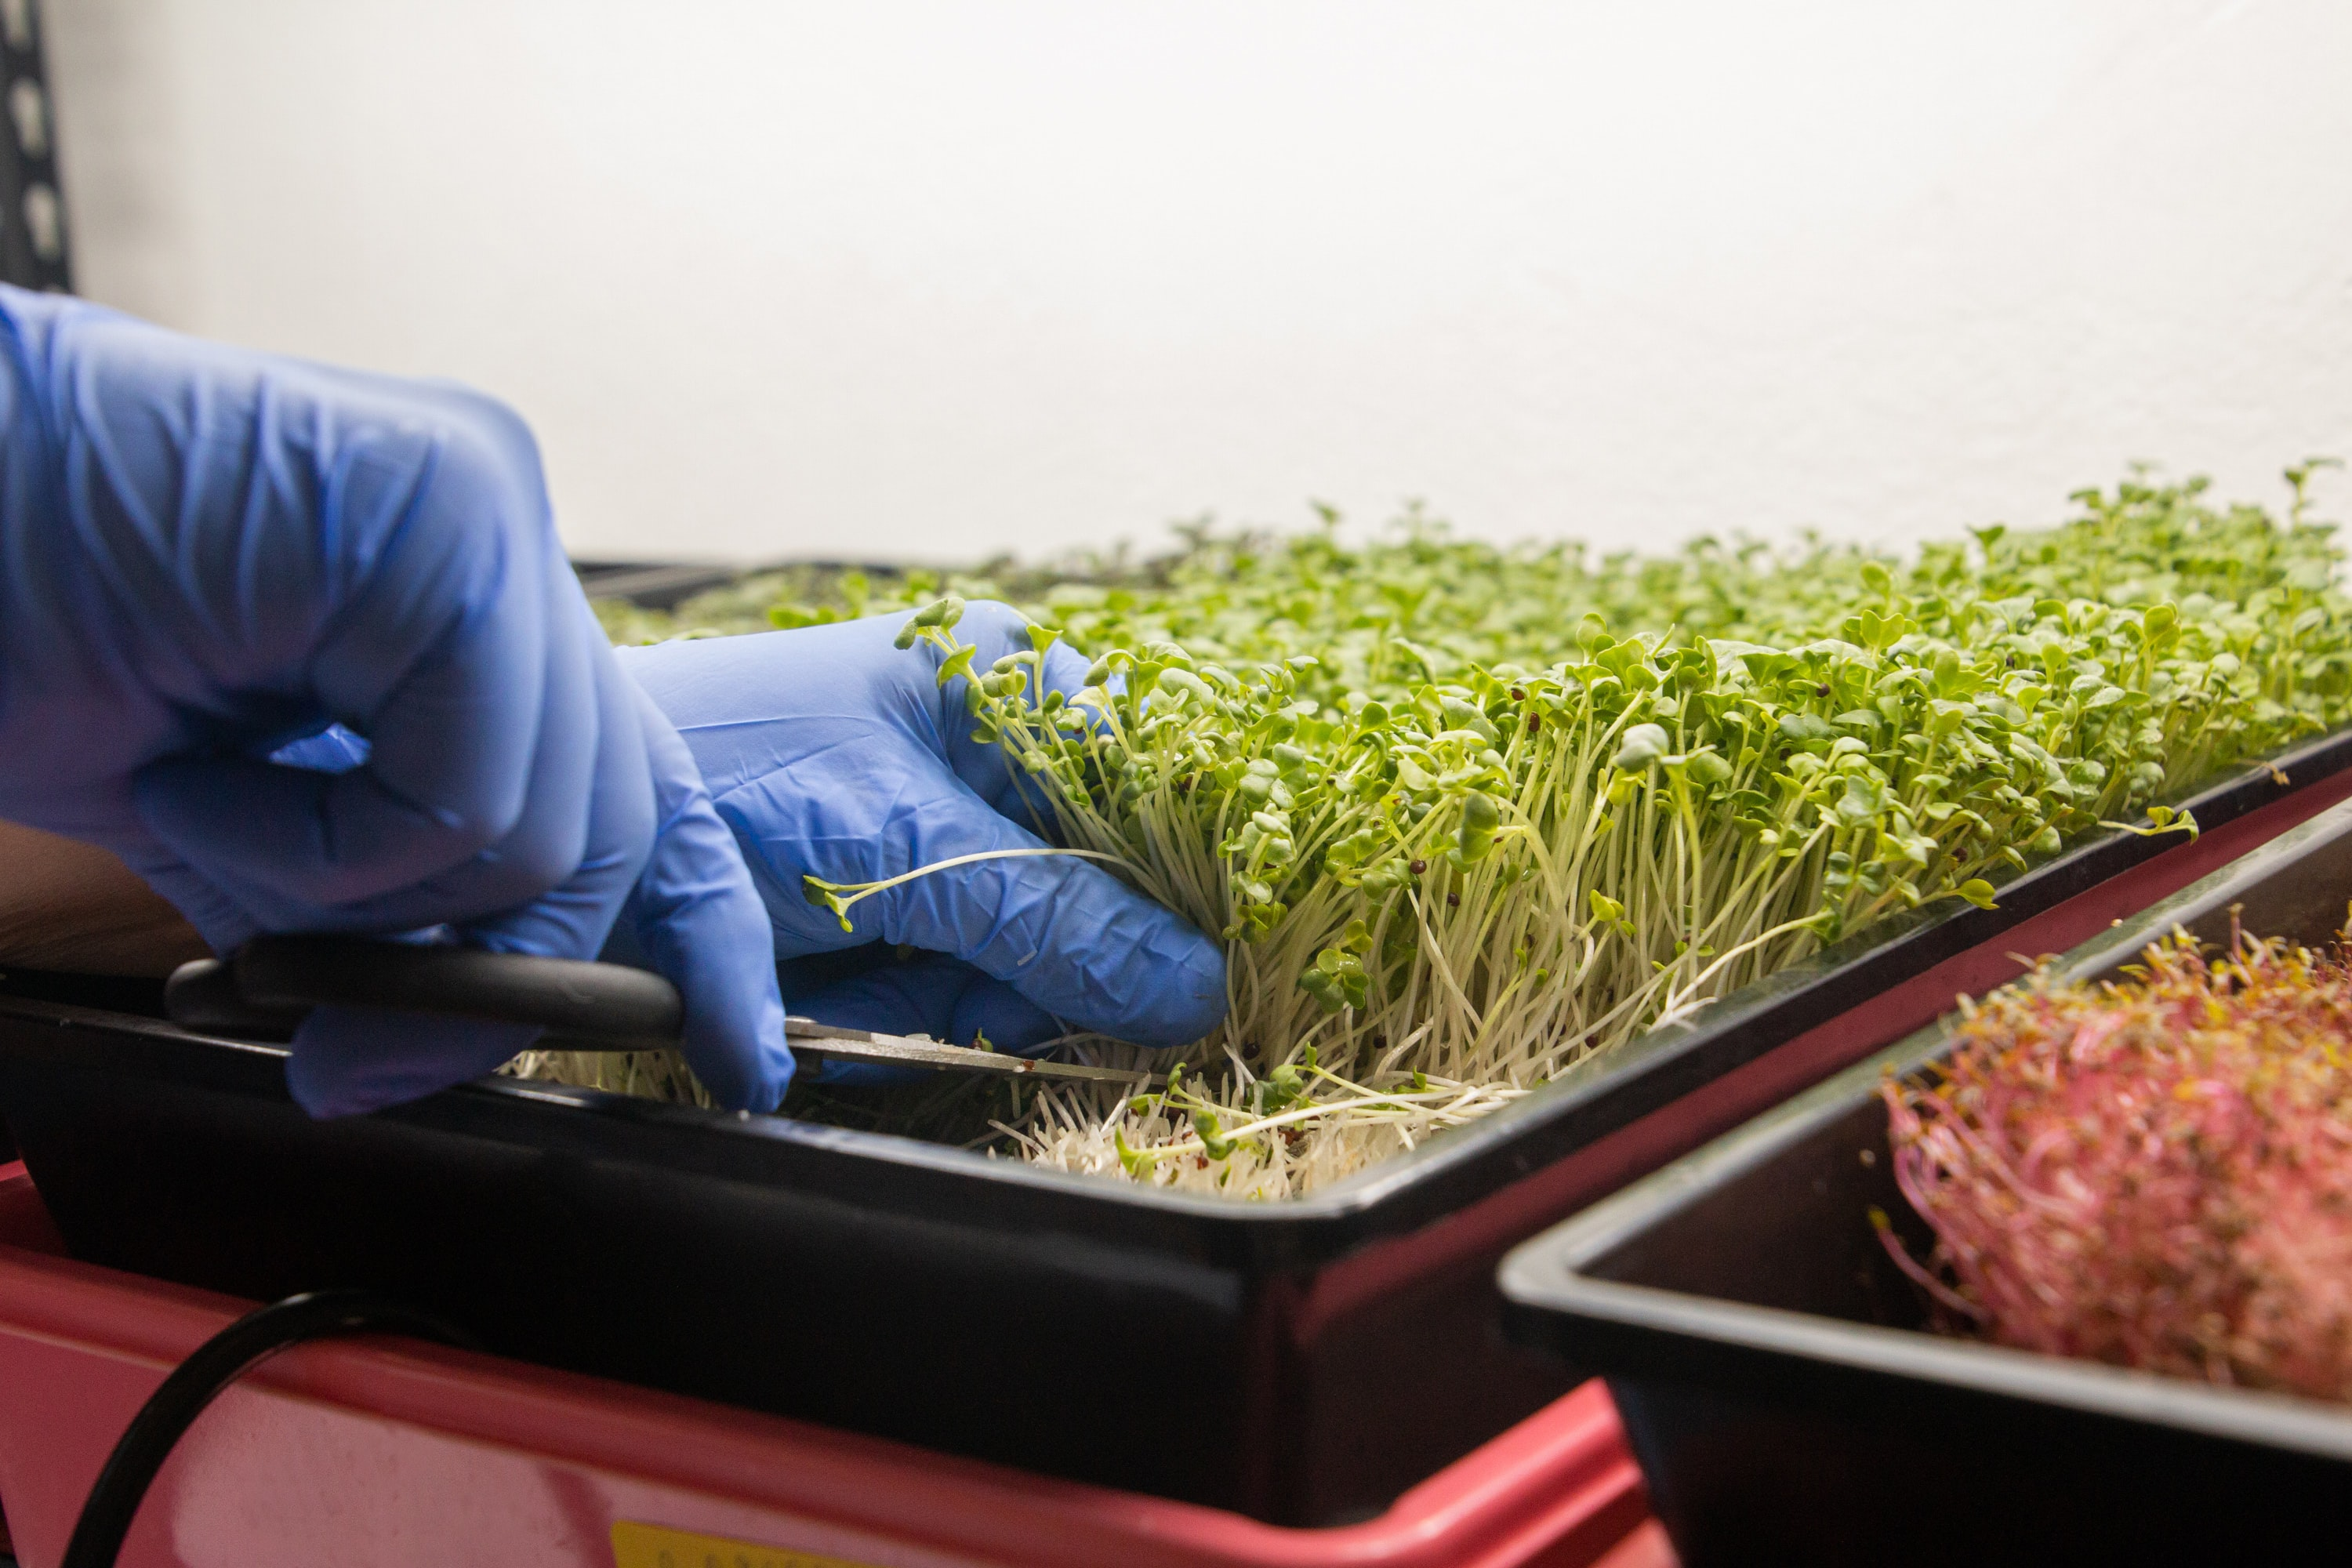
10. Most varieties of microgreens are ready to harvest anywhere from 7-14 days. When harvesting, make the cut just above the soil line and harvest the microgreens using a sharp knife or a sharp pair of scissors.
11. Wash the microgreens before use.
Shelf Life
Depending on the variety, some microgreens can last up to two weeks in the refrigerator. When storing microgreens, be sure to dry them well to prolong shelf life.
Will Microgreens Grow Back After Cutting?
No, they will not. After harvesting the microgreens, it's best to compost the used soil.
How to Slow Down Microgreen Growth
In the hotter months, you might find yourself growing your microgreens in shorter and shorter periods of time until you're left with more microgreens than you know what to do with.
While bagging and storing them is an option, some people also put them in the fridge or cooler to slow down their growth. Just remember to mind the soil if you do!
Sanitation
Growing microgreens needs a consistent level of warmth, moisture, and humidity—the same conditions that molds and bacteria love to grow in.
To keep harmful bacteria off, place your growing trays in a well-ventilated place, and be sure to check on your microgreens daily.
Sourcing Microgreen Seeds
Make sure to purchase your microgreen seeds from reputable seed companies. Good seed companies do their due diligence on keeping with their seed sanitation protocols to make sure their seeds are pathogen-free.
If unsure about which seeds grow best in your region or climate, ask your seed suppliers for their recommendations!
Which Microgreens to Grow First
Some microgreens are trickier to grow than others.
So if it's your first time growing microgreens, it's best to go for the easier ones: radish, red cabbage microgreens, broccoli, arugula, coriander, spinach, and beet microgreens.
Once you get the hang of growing them, you can go for pea shoots, sunflower shoots, and micro herbs like basil and cilantro.
How to Eat Microgreens
Just by adding microgreens, it's easy to make any food into exciting new food. They can be eaten raw (remember to wash them first!) or cooked.
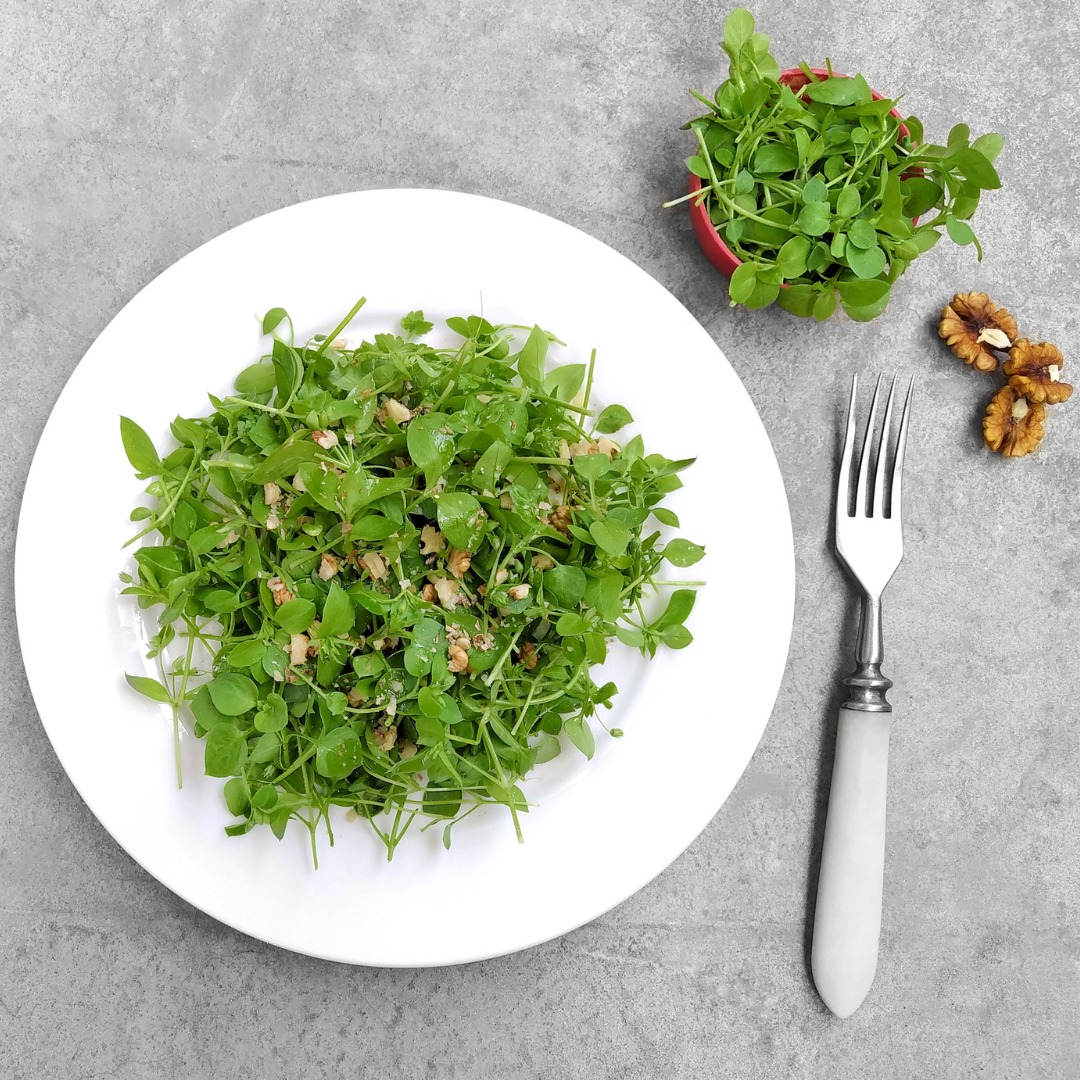
Salads. One of the simplest ways to add microgreens to your diet is by tossing some into your salad. You can also make a salad just out of microgreens!
Smoothies and juices. The mild and nutty-flavored microgreens are excellent to add to smoothies, while wheatgrass is popular for juicing.
Stir-fries. All microgreens do great for stir-fries, especially the spicier ones like radish and mustard microgreens. Toss them in butter or olive oil, add a pinch of salt and pepper, and viola!
Garnish or Topping. Add microgreens to every meal and chuck a spoonful into all your dishes!
